Reply
Honored Contributor
Posts: 14,297
Registered: ‎01-16-2015

Re: Quick Pot Sticker Soup

[ Edited ]

coffee milkshake in a glass mason jar drizzled with chocolate sauce


chocolate coffee milkshake in a glass drizzled with chocolate


Coffee Milkshake


The classic vanilla milkshake gets a grownup makeover with this Coffee Milkshake recipe! It's so easy to make, with just 3 ingredients and 2 of them being our favorite foods ever created - coffee and ice cream!


PREP TIME: minutes
SERVINGS: 1
CALORIES: 554 kcal


EQUIPMENT: Blender


INGREDIENTS:
 
 
  • 2 tablespoon cold coffee traditional, cold brew, or espresso
  • 1 tablespoon milk dairy or non-dairy
  • 2 cups ice cream vanilla or coffee 

INSTRUCTIONS:

  • Add all ingredients to the blender in the order your blender suggests. If using the Instant Ace Blender, add the milk first, then cold coffee, then ice cream.
  • Blend on high speed for 30 seconds. For the Instant Ace Blender, choose the "frozen dessert" option, but only blend for 30 seconds. Check milkshake's consistency and continue blending in 10 second increments if desired. If needed, use a spatula to push the ingredients down the side of the blender toward the blade.
  • Pour into a glass and serve immediately. Drizzle with chocolate sauce or top with whipped cream and a cherry if desired.
Honored Contributor
Posts: 14,297
Registered: ‎01-16-2015

It's National Chicken Wing Day | WOWK 13 News

Honored Contributor
Posts: 14,297
Registered: ‎01-16-2015

Close overhead shot of a bowl of rotini pasta in buffalo chicken casserole with a fork in the bowl


Buffalo Chicken Wing Casserole

 
Creamy and smooth with just a little bit of heat, this Buffalo Chicken Casserole is an easy dinner recipe that the whole family can enjoy!
 
 
Prep Time: 20 minutes 
Cook Time: 20 minutes 
 
Servings: 4 - 6 people
 

Ingredients:

 
1 (10 ½ ounce) can condensed cream of chicken soup (NOT diluted)
 
4 ounces cream cheese, softened
 
½ cup milk
 
2 tablespoons buffalo wing sauce (or more, to taste)
 
1 (1 ounce) packet dry ranch seasoning and salad dressing mix
 
2 cups cooked, shredded chicken (I use a rotisserie chicken for this step)
 
6 ounces (about 2 cups) dry rotini pasta, cooked and drained
 
1 stalk celery, sliced (about ½ cup)
 
½ cup (about 4 ounces) grated cheddar cheese


Instructions:


  • Preheat oven to 350 degrees F. Spray a 2-quart baking dish with cooking spray and set aside.
  • In a separate bowl, stir together condensed soup, softened cream cheese, milk, buffalo wing sauce, and ranch seasoning. Gently fold in chicken, cooked pasta and celery.
  • Transfer mixture to prepared baking dish. Sprinkle cheddar cheese over top.
  • Cover tightly with foil or a lid, and bake for about 20-25 minutes (or until hot and bubbly and cheese is melted).
 

Notes:


    • This buffalo chicken casserole recipe only calls for 2 tablespoons of buffalo wing sauce, so it's not too spicy at all! I keep it mild so that it's family-friendly; however, if you prefer a hotter dish you can add more wing sauce, to taste.
    • Swap out the can of cream of chicken soup for a can of the cream of celery flavoMake sure that you're starting with softened cream cheese so that you can easily stir it with the rest of the sauce ingredients. It's fine if you still have a few lumps in the sauce -- the cream cheese will melt smoothly in the oven! To soften the cream cheese, leave it sitting on the counter for a couple of hours to come to room temperature, or microwave for 15-30 seconds.
  • I use a store-bought rotisserie chicken for a shortcut in this recipe.
  • Instead of the cheddar, top your casserole with grated mozzarella or Monterey Jack cheese.
  • Make this casserole lighter by using low fat cream cheese, reduced fat cheddar cheese, and Campbell's Healthy Request condensed soup.

Nutrition:


Serving: 1/6 of the casserole | Calories: 311.8kcal | Carbohydrates: 29.9g | Protein: 19.3g | Fat: 12.5g | Saturated Fat: 6.5g | Polyunsaturated Fat: 0.7g | Monounsaturated Fat: 2.7g | Cholesterol: 62.5mg | Sodium: 984.1mg | Potassium: 206.3mg | Fiber: 1.5g | Sugar: 3.3g | Vitamin A: 8.3IU | Vitamin C: 0.8mg
Honored Contributor
Posts: 14,297
Registered: ‎01-16-2015

July 30th is National Cheesecake Day! | CBS 17

Honored Contributor
Posts: 14,297
Registered: ‎01-16-2015

Re: Quick Pot Sticker Soup

[ Edited ]

Slice of no bake cheesecake with a strawberry on top


No bake cheesecake on white cake stand


No-Bake Cheesecake

 
    •  
 
    • Prep Time: 20 minutes
 
    • Cook Time: 0 minutes
 
    • Total Time: 8 hours, 20 minutes
 
  • Yield: serves 10-12

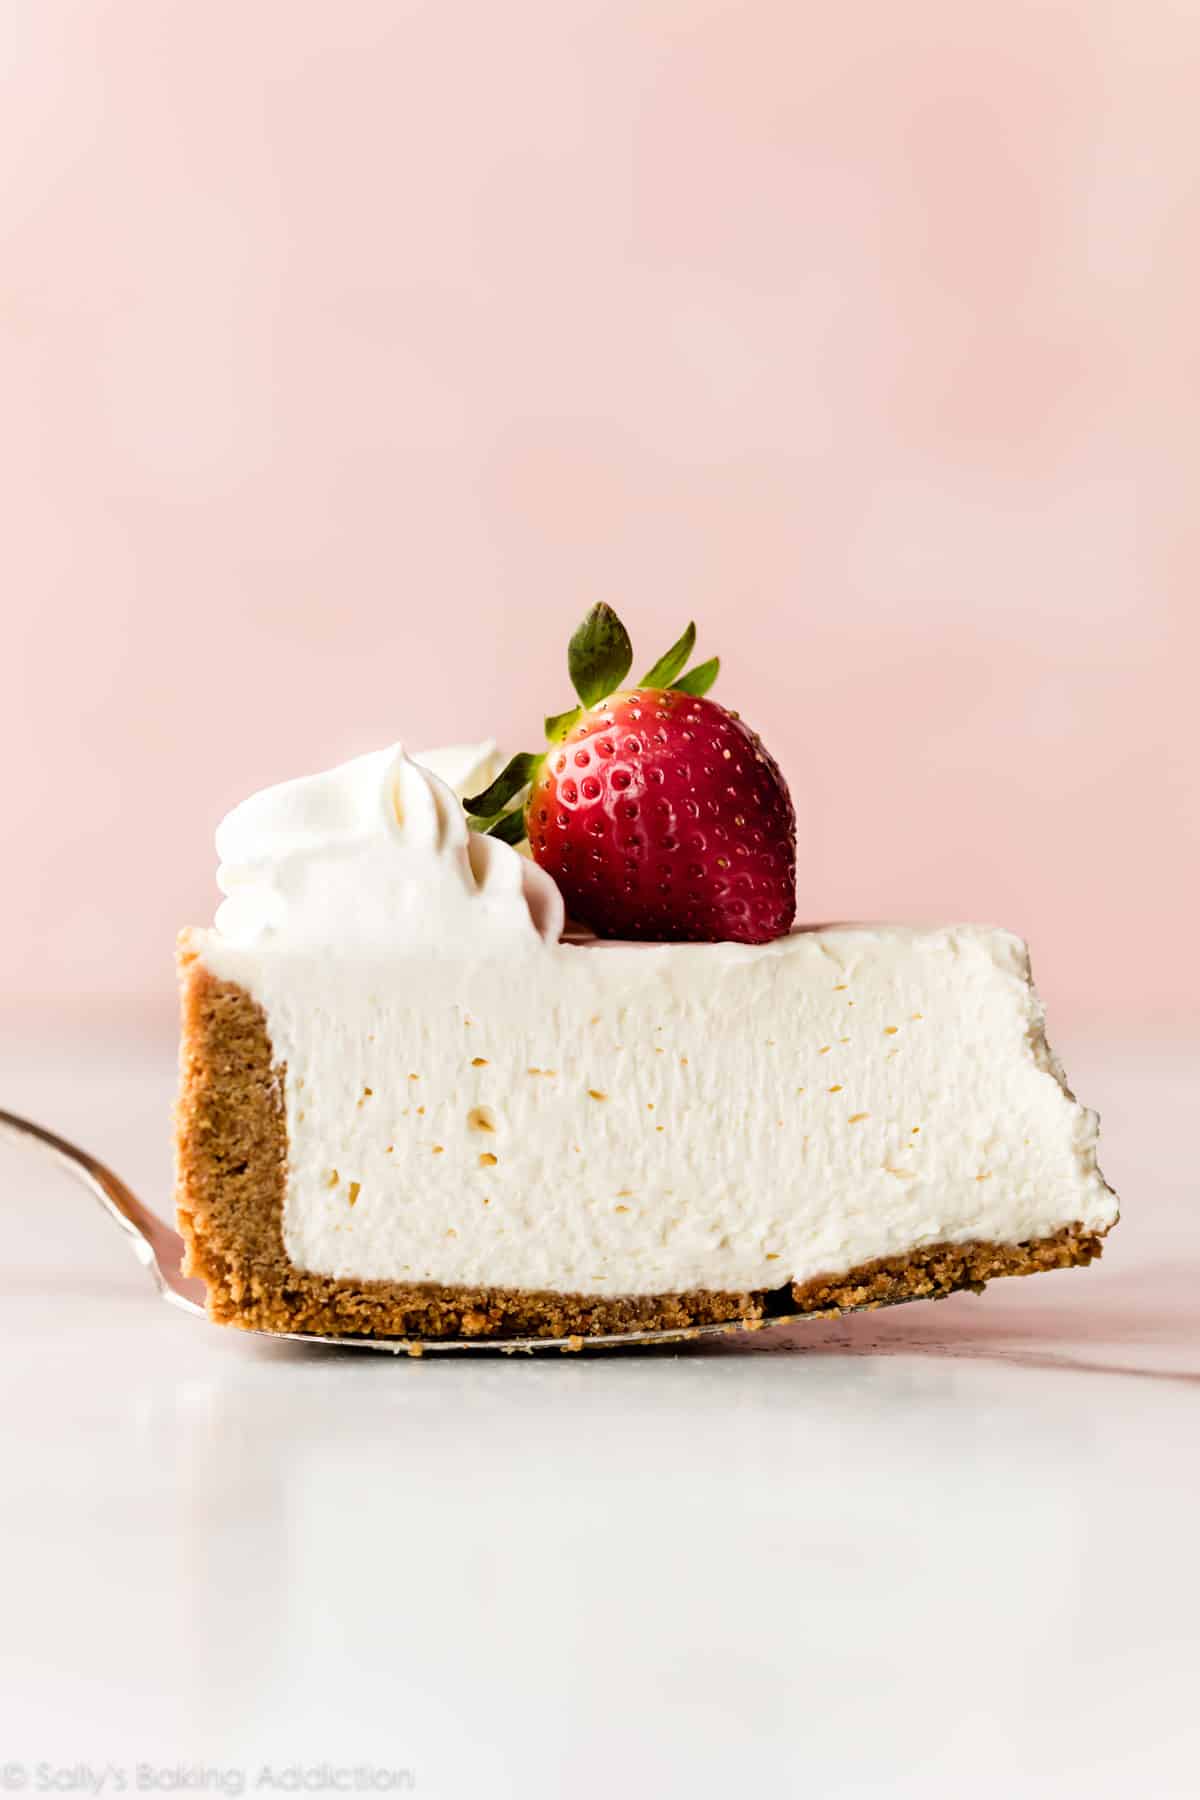
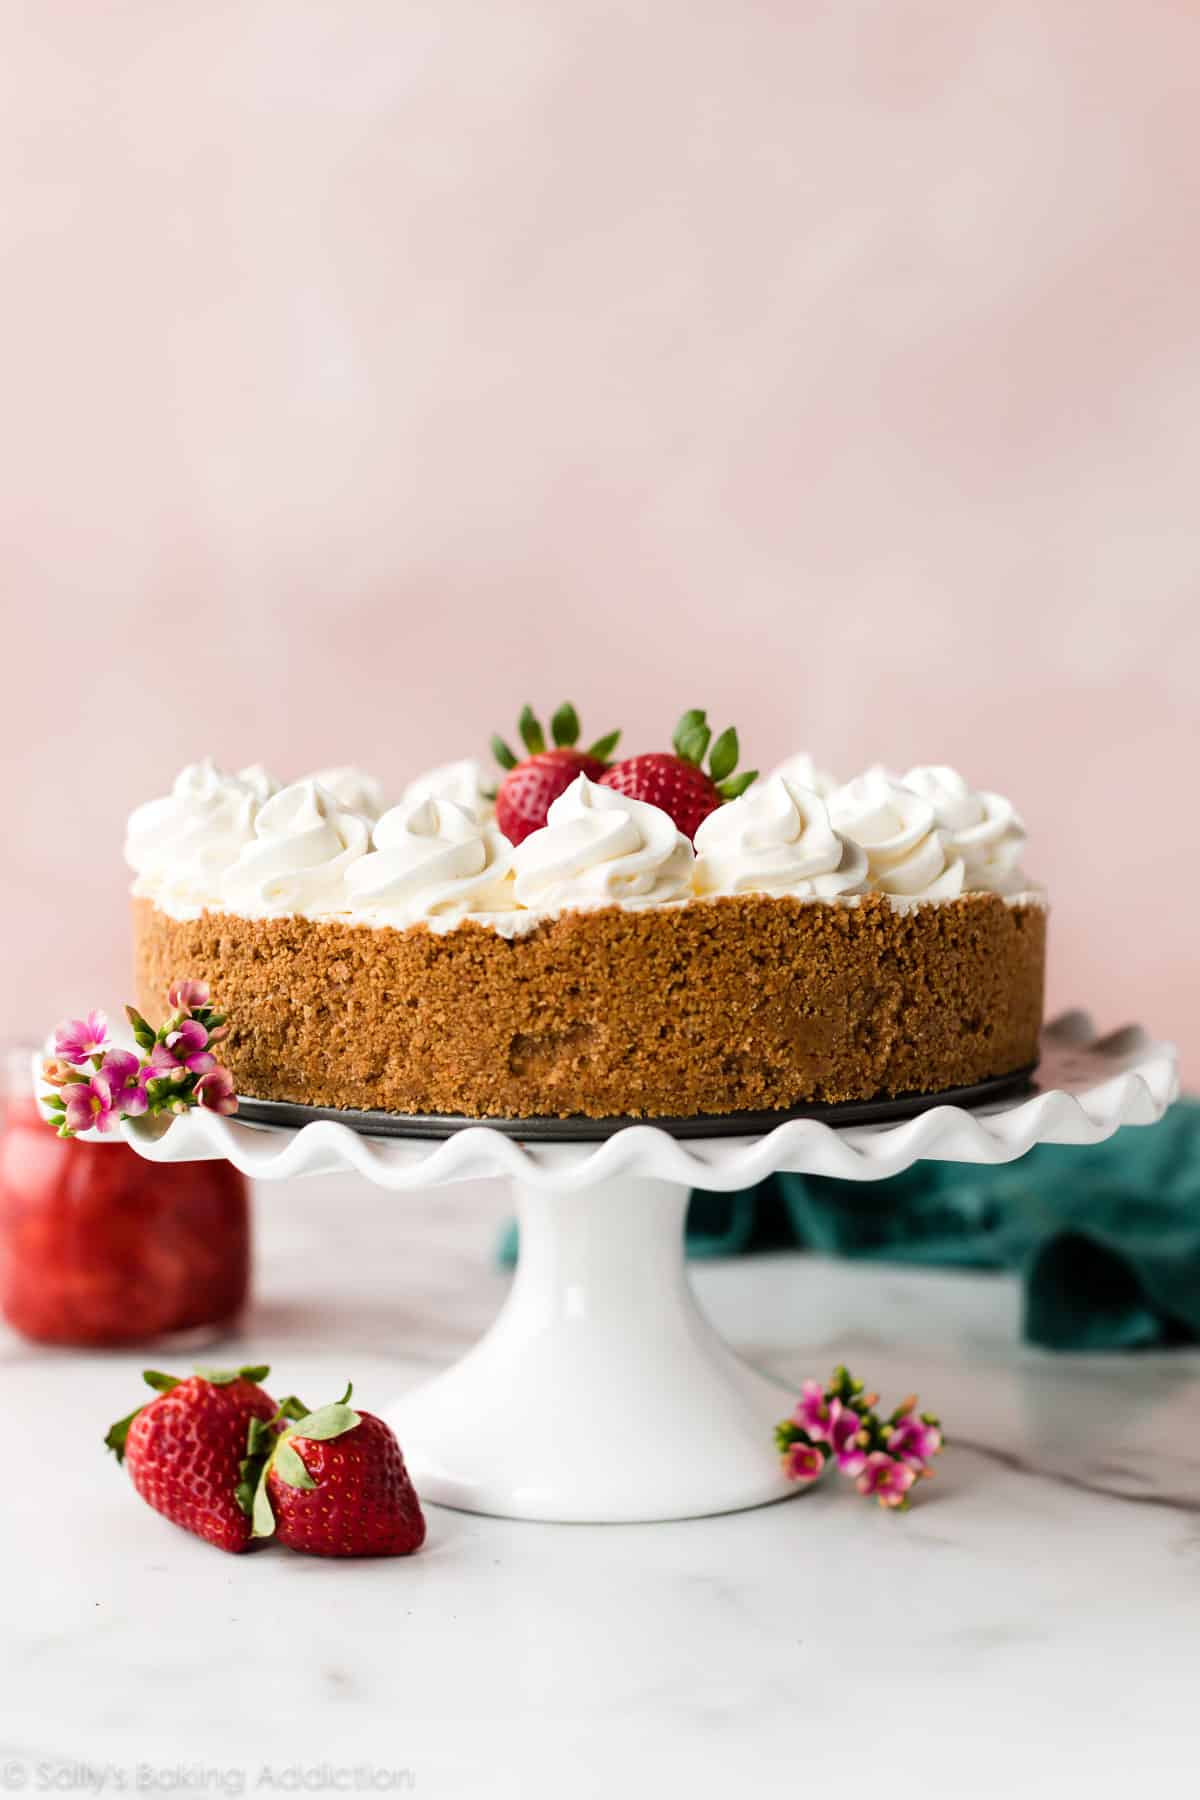
This is truly the most perfect and easy no-bake cheesecake. By following this no-bake cheesecake recipe, you’ll be gifted with a smooth, light, and creamy dessert that sets up beautifully in the refrigerator. The most important steps are whipping the heavy cream into stiff peaks before folding into the filling, and refrigerating the cheesecake overnight.


Ingredients:


Graham Cracker Crust

  • 2 cups graham cracker crumbs (about 16 full sheet graham crackers)
  • 1/3 cup packed light or dark brown sugar
  • 1/2 cup unsalted butter, melted

Cheesecake

  • 1 and 1/4 cups heavy cream or heavy whipping cream
  • 24 ounces full-fat brick cream cheese, softened to room temperature
  • 1/2 cup granulated sugar
  • 2 Tablespoons confectioners’ sugar
  • 1/4 cup sour cream, at room temperature
  • 2 teaspoons lemon juice
  • 1 teaspoon pure vanilla extract
 

Instructions:


  1. Make the crust: Stir the graham cracker crust ingredients together. Pour into a 9 or 10 inch springform pan and pack in very tightly. The tighter it’s packed, the less likely it will fall apart when cutting the cheesecake. I recommend using the bottom of a measuring cup to pack it into the bottom and up the sides. You can watch me do this in the video above. Freeze for 10–20 minutes as you prepare the filling.
  2. Make the filling: Using a hand mixer or a stand mixer fitted with a whisk attachment, whip the cold heavy cream into stiff peaks on medium-high speed, about 4–5 minutes. Set aside.
  3. Using a hand mixer or a stand mixer fitted with a whisk or paddle attachment, beat the cream cheese and granulated sugar together on medium speed until perfectly smooth and creamy. Scrape down the sides and up the bottom of the bowl with a silicone spatula as needed. Add the confectioners’ sugar, sour cream, lemon juice, and vanilla extract. Beat for 2–3 minutes on medium-high speed until smooth and combined. Make sure there are no large lumps of cream cheese. If there are lumps, keep beating until smooth.
  4. Using your mixer on low speed or a silicone spatula, fold the whipped cream into the cheesecake filling until combined. This takes several turns of your silicone spatula. Combine slowly as you don’t want to deflate all the air in the whipped cream.
  5. Remove crust from the freezer and spread filling into crust. Use an off-set spatula to smooth down the top.
  6. Cover tightly with plastic wrap or aluminum foil and refrigerate for at least 6–8 hours and up to 2 days. For best results, 12 hours is best. I chill mine overnight. The longer refrigerated, the nicer the no-bake cheesecake will set up.
  7. Use a knife to loosen the chilled cheesecake from the rim of the springform pan, then remove the rim. Using a clean sharp knife, cut into slices for serving. For neat slices, wipe the knife clean between each slice.
  8. Serve cheesecake with desired toppings (see Note). Cover and store leftover cheesecake in the refrigerator for up to 5 days.

Notes:


  1. Make Ahead Instructions: This cheesecake can be made 1–2 days in advance. It can be refrigerated in step 6 for up to 2 days before serving. You can also make the crust 1–2 days ahead of time. Freeze for up to 1 hour in step 1, then cover tightly and refrigerate for 1–2 days before adding the filling. Another way to make this cheesecake ahead of time is to freeze it. Cheesecake can be frozen up to 3 months. See instructions in blog post above.
  2. Special Tools: Electric Mixer (hand-held or stand) | 9 or 10 inch springform pan | Silicone spatula | Offset spatula
  3. Lemon Juice: Lemon juice brightens up the flavor. This cheesecake does not taste like lemon. For lemon-flavored no-bake cheesecake, remove the sour cream from the recipe and add 2 Tablespoons lemon juice and 1 Tablespoon lemon zest.
  4. Room Temperature Ingredients: Bring the cream cheese and sour cream to room temperature before beginning. Room temperature ingredients guarantee a smooth cheesecake filling. Beating cold ingredients together will result in a chunky cheesecake filling. (The heavy cream, however, MUST be cold in order to whip into stiff peaks.)
  5. Toppings: Before serving, decorate with whipped cream, lemon curd, strawberry sauce, fresh berries, salted caramel, or your favorite cheesecake toppings. I used a piping tip for the whipped cream in the pictured cheesecake.
  6. Can I Make Mini No-Bake Cheesecakes? Yes, see my mini no-bake cheesecakes, which are made in a standard muffin pan.
  7. Non-US Readers: ​​Don’t have graham crackers where you live? Use 270g ground digestive biscuits instead (about 18 biscuits), the same amount of butter, and add a bit more brown sugar (about 1/2 cup, or 100g). And from what I understand, spreadable cream cheese sold in a tub in countries outside of the US is a little different from the spreadable cream cheese in the US. It’s thicker, sturdier, and more solid and should be OK to make cheesecake. I have no experience with it, but this is what I’ve heard from other non-US readers.
Honored Contributor
Posts: 14,297
Registered: ‎01-16-2015

NATIONAL RASPBERRY CAKE DAY - July 31 - National Day ...

Highlighted
Honored Contributor
Posts: 14,297
Registered: ‎01-16-2015

Re: Quick Pot Sticker Soup

[ Edited ]

Cut raspberry cake slices on a serving plate.


Easy Raspberry Cake From Scratch

 
This flavorful, fresh raspberry cake is super moist and drool-worthy. All you need is 10 ingredients and 10 minutes of prep time. Your friends and family will rave about how delicious this raspberry cake recipe is. 
 
Prep Time: 10 minutes 
Cook Time: 35 minutes 
Total Time: 45 minutes 
 
 
Servings: 12 servings


Ingredients:


  • 2 cups all-purpose flour, spooned and leveled
  • 1 ½ teaspoon baking powder
  • ½ teaspoon salt
  • ½ cup unsalted butter, softened
  • ¾ cup granulated white sugar
  • 2 large eggs
  • ¼ cup sour cream
  • 2 teaspoon vanilla extract
  • ½ cup milk
  • 1 ½ cups fresh raspberries
  • 2 tablespoon all-purpose flour

Instructions:


  • Preheat oven to 350°F / 175°C. Line the bottom and the sides of a 9" (23cm) springform pan with parchment paper. Set aside.
  • In a large bowl combine 2 cups flour, baking powder, and salt and stir to combine. Set aside.
  • In a large mixing bowl with a stand or handheld mixer fitted with a whisk or paddle attachment, beat butter and sugar until creamy for about 2-3 minutes. Add 1 egg at the time and mix until incorporated. Add sour cream and vanilla* and stir to combine. Alternately add dry ingredients and milk, beginning and ending with dry ingredients. Stir just until combined. Set aside.
  • Place raspberries and 2 tablespoon flour in a bowl and stir with a spoon to combine until the raspberries are fully covered with flour.
  • Transfer raspberries to the batter without the excess flour in the bowl. Fold in with a spatula or wooden spoon carefully. Transfer to the prepared baking pan and bake for about 32-36 minutes or until a toothpick in the center comes out clean. I baked mine for 34 minutes. Let cool to room temperature.
  • Before serving, sprinkle with powdered sugar, top with whipping cream, or fresh raspberries, to your preference. Store leftovers in the fridge up to 1 day.
 

Notes:

 
    • Baking Pan. This cake cooks best in a 9" springform pan. You can also use a 8" (20cm) pan lined with parchment paper but you will need to adjust the baking time to about 10 minutes longer.
 
    • Using Frozen Raspberries. Whenever possible, use ripe, fresh raspberries for best results. However, if you don't have fresh fruit available, frozen raspberries work as well. Don't thaw out the frozen berries; simply add them frozen as directed in the recipe.
 
    • Storing: You should refrigerate the leftover cake for up to 2 days. It can be eaten cold right out of the fridge or let come to room temperature. Keep in an airtight container.
 
    • Use Room Temperature Ingredients & Measure Properly. This ensures that your cake ingredients mix up correctly and you end up with the best results.
 
  • Serving. Dust it lightly with powdered sugar and serve with fresh raspberries.

Nutrition:


Calories: 235kcal | Carbohydrates: 32g | Protein: 4g | Fat: 10g | Saturated Fat: 5g | Cholesterol: 58mg | Sodium: 187mg | Potassium: 141mg | Fiber: 1g | Sugar: 13g | Vitamin A: 340IU | Vitamin C: 4mg | Calcium: 58mg | Iron: 1.4mg
Honored Contributor
Posts: 14,297
Registered: ‎01-16-2015

Re: Quick Pot Sticker Soup

[ Edited ]

I made a little "garden" out of a Cheerful Giver candle jar.


I used faux succulents - I have real Hens & Chickens but I was afraid it wouldn't be good for the live ones to be in a sealed jar.


It's going in a darker corner so no worries about sunlight - or water!!!


7C8D303E-8F5E-4009-9565-75DFBFD4CD30.jpeg

Honored Contributor
Posts: 14,297
Registered: ‎01-16-2015

Re: Quick Pot Sticker Soup

[ Edited ]

I just received my watermelon Lock 'n Lock set.


Opened the box - the tab is broken off!


Never even got it out of the box!


SO BUMMED!!!


Of course there aren't anymore!


C39A9B75-2D57-4763-BB7F-739C263B6ED7.jpeg


F43CA294-1319-4E0C-B318-AFFD9A658B5F.jpeg


qvcsocialteam@qvc.com

Honored Contributor
Posts: 10,230
Registered: ‎06-13-2010

@ChiliPepper WOW!🥰 I cannot tell you how MANY candle jars I have discarded!😐 This is a WONDERFUL, decorative idea, and I am thinking of so many possibilities!!!😁


Thank you for sharing this GREAT inspiration!🤗


~~~All we need is LOVE💖