


Stay in Touch
Get sneak previews of special offers & upcoming events delivered to your inbox.
Sign in
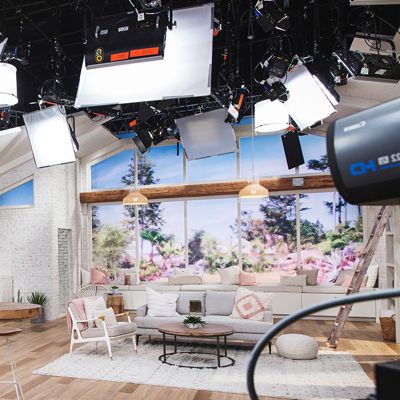
I’m sitting here in our QVC host lounge typing today’s blog and I smell like philosophy! It’s delicious! I hope you were able to join me for today’s show. ![]()
Good news! The DIY craft for this Wednesday’s You’re Home with Jill is DONE! And, here’s the finished piece…what do you think?
Isn’t that fun!? Whether you make it for your own home or you plan on making it a hostess or general holiday gift, there’s not much too this…just a few drops of hot glue and a lot of Styrofoam! ![]() Many thanks to the girls over at Two Junk Chix, who made the wreath that got my creative juices flowing.
Many thanks to the girls over at Two Junk Chix, who made the wreath that got my creative juices flowing.
Here’s how you make one like mine:
You’ll Need:
• 10” Styrofoam wreath
• 15-20 Styrofoam balls (2” & 2-1/2”)
• 3 balls of brightly colored yarn
• Burlap sheet
• Hot glue gun
• Shatterproof ornaments
• Ribbon bow
• 12” piece of matching ribbon
To Assemble:
1. Wrap the burlap around the wreath and cut it to fit. Then, hot glue the fabric to the wreath. (This step is really optional—I just felt like I had to cover the Styrofoam with something!)
2. Start wrapping the yarn around the Styrofoam balls and stop when the ball is completely covered. Cut the yarn, then secure the end to the ball with hot glue. Repeat until all the balls are wrapped. I did this part while watching TV with my kids! (I went with three colors for my wreath, but feel free to pick your own colors. You can even buy Styrofoam wreaths and balls in many sizes. If you’d like to make a larger wreath, for example, shoot for a 12” or 16” base and upgrade to 3” or 4” balls so it’s to scale.)
3. Before you glue the balls onto the base, map out where everything should go. I tried to space out my colors and the various-sized balls, but in the end, a little spontaneity looks great! When you’re ready, glue the yarn-balls in place.
4. Then, take your ornaments and stick them in anywhere you like. Secure them with more hot glue. Remember—the more random the placement, the better it will look in the end! (No need to use shatterproof if you have ornaments on hand—I just plan to use this wreath again and wanted it to hold up!)
5. When everything seems dry, flip the wreath over and hot glue both ends of the ribbon to the base (to create a hanging loop).
6. When the loop is dry, flip the wreath back over and hot glue the ribbon to the top. And you’re done!
I hope you have fun with this. It’s a great way to use up some old yarn you may have on hand or a great decoration you can make this year and use it for many holidays to come.
If you’re looking for more DIY Christmas decorations, don’t forget to check out my DIY page on QVC.com. And, in case you didn’t see my videos on setting your holiday table and making a holiday centerpiece, here you are!
See you on YHJ tomorrow night at 6pm ET.
From my home to yours,
—Jill
You must be a registered user to add a comment. If you've already registered, sign in. Otherwise, register and sign in.


Get sneak previews of special offers & upcoming events delivered to your inbox.
*You're signing up to receive QVC promotional email.
Find recent orders, do a return or exchange, create a Wish List & more.


Privacy StatementGeneral Terms of Use
QVC is not responsible for the availability, content, security, policies, or practices of the above referenced third-party linked sites nor liable for statements, claims, opinions, or representations contained therein. QVC's Privacy Statement does not apply to these third-party web sites.
© 1995-2024 QVC, Inc. All rights reserved. | QVC, Q and the Q logo are registered service marks of ER Marks, Inc. 888-345-5788