Hello, foodies…
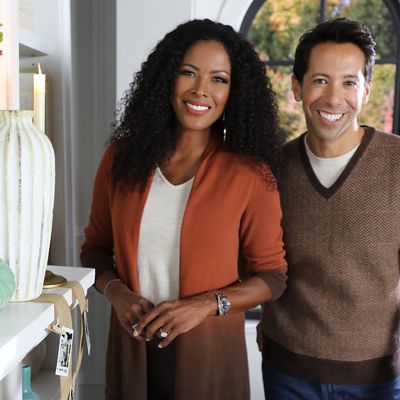
Just popping in to say hi, and HAPPY SPRING! Since the lovely Jill Bauer is your humble host again this Wednesday night for
In the Kitchen with David–PM Edition, I asked her to guest blog for me today and share one of her many (genius!) decorating ideas.You can find her Blooming Bunnies just below Wednesday's
recipe…I channeled my inner Jill and got crafty with this one. What do you think of my
Deviled Egg Chicks?
Deviled Egg Chicks
Ingredients:
12 eggs, hard boiled and peeled
1/2 cup mayonnaise
2 tsp yellow mustard
1 tsp salt
1/2 Tbsp apple cider vinegar
1 carrot, peeled and julienned (for the beaks)
3 black olives, diced small (for the eyes)
Directions:
Cut a 1/2" slice off the top and bottom of each egg (or enough to expose the yolk). Save the tops for later use.
Carefully remove the yolks, being careful not to tear the whites. (This will take a bit of patience.) Collect all of the yolks into a small mixing bowl and add the mayonnaise, mustard, salt, and vinegar. Mix until smooth.
Fill a pastry bag with the yolk mixture and fit the bag with a small tip. Pipe the yolk mixture back into the hollowed hard-boiled eggs until they're slightly over-filled and you have a small mound.
Place the top of the egg white (you sliced off earlier) on the yolk at an angle. Then, take two pieces of olive and create eyes, followed by a julienned carrot to make a nose. Refrigerate until ready to serve.
Here's Jill, foodies. I'll see you Sunday at Noon ET, as usual.
—David
Hi, everyone!
If you caught some of my latest
blogs, you know I've been ready to decorate for spring since February. And, you can bet I've been tossing around ideas for my Easter table since January! No! I'm just kidding. It's not been quite that long. But, I have been thinking about a fun, festive centerpiece idea, and here's what I came up with. Meet my Blooming Bunnies! Aren't they adorable!?
Here's how you can make them at home:
Step 1: Gather your materials…
Terracotta pots, spray paint, floral foam, foil-wrapped chocolate eggs, marshmallow bunnies, lollypop sticks, Easter grass, and all purpose glue.
Step 2: Spray paint your terracotta pots...I like to use a spray paint primer first. Let it dry, and then add your favorite color. Just a tip…lighter colors will need several applications to give you good coverage over the terracotta color.
Step 3: Once the pots are dry, add a little bit of the Easter grass into the pot followed by your floral foam. (You don't need a big piece of the foam...just enough to wedge into the pot.)
Step 4: Put some glue on top of the foam then press some of your Easter grass on top.
Step 5: Add the foil-wrapped eggs. Make it nice and full!
Step 6: Put a lollypop stick into the bottom of a marshmallow bunny and stick it into the pot.
Step 7: Repeat the steps above to make as many pots as you like…these make adorable place settings for your guests.
Step 8: Or, if you want to make a cute centerpiece, nestle a few of the pots together on a large plate. Fill in the space with more Easter grass and use some eggs, candy, bunnies…anything you find, really, to add some extra interest.
That's it! I know lots of you have a crafty streak in you. Don't be afraid to give these a try.
But, if crafting just isn't your forte, here's something I know you're good at: cooking! Here's the ultimate side dish for your Easter ham. I'm a lover of pineapple upside-down cake, and this
recipe (which you can find on my recipe page on QVC.com) tastes like dessert...but it's for dinner! I like to let it cool to just warm for serving. It's great at room temperature. (And yes, if there is any leftover, I've been known to eat it cold!)
Pineapple Casserole
Ingredients:
1/2 cup butter
1 cup sugar
4 eggs
5 slices white bread, cubed
1 (20-oz) can crushed pineapple, with juice
Directions:
Preheat the oven to 350°F. Lightly butter an 11" x 7" or 2-quart casserole dish.
Cream the butter and sugar together with a hand or stand mixer. Add the eggs one at a time. Use a spatula to fold in the bread and the pineapple (plus the juice). Stir gently until just incorporated, and pour the mixture into the prepared casserole dish.
Bake until light brown and bubbly, about 1 hour. Let the casserole cool for about 20 minutes before serving. Enjoy! I'll excited to see you this Wednesday at 8pm.
As David always says…Keep it Flavorful!
—Jill