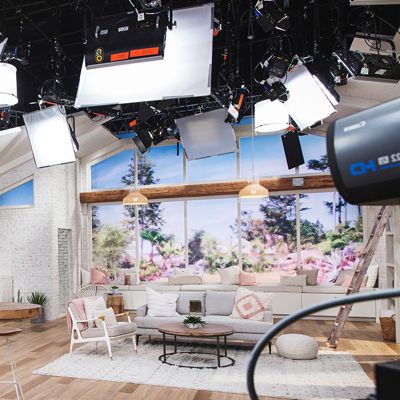
We asked QVC's Group Creative Director, Peter Browne to give us the scoop on harvest decorating. Go behind the scenes and get inspired by Peter's beautiful work!

Creating a warm harvest feel is easy.
It’s hard to believe that fall is almost here again. Fall is one of my favorite times of year. I love when I get to see the changing of the leaves for the first time. Most of all, I love decorating for fall, when the temperature drops slightly and I get to put on my favorite sweater.
Fall is the one season of the year that I can start decorating early and I really don’t have to change out the decorations for several months. Sometimes I start out light with only bringing out a few small pieces and then build as the time goes by and then there are times where I just go hog wild and go big from the start. I always like to start in one area that I can really make one beautiful statement. (A center hall table, sideboard, mantle, something like that) It gives the room a splash of the fall colors and warmth.
Trust me when I say you don’t have to be a stylist or designer to decorate like this... never fear you can do it if you follow these few tips and tricks:

Step 1: Start with A CLEAN SLATE. Start with a space that you can play in. Clear it off completely so you can see what area have to work with.
Step 2: Create a STAGING AREA. Whether it is on the floor or on a folding table, have a place that you can lay out all the things you’ll need. This prep work is important and makes life easier in the end.

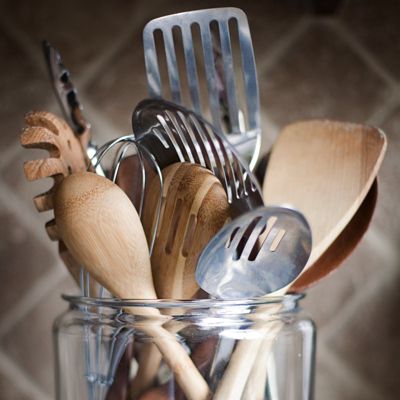
Step 3: Have a big “BAG OF TRICKS”. You should always have on hand a “big back of tricks” that includes a few basic things: scissors, tape, double stick tape; tissue paper, stuffing paper, or bubble wrap; twine, clothes pins, glue, a staple gun, a small hammer, thumb tacks, fun tack etc. You’ll find your favorite things that work best for you over-time. Keeping all this together makes start up easy every-time.


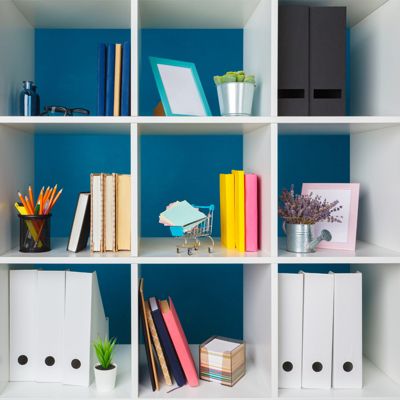
Step 4: Collect things to create LEVELS. This is huge in creating a dynamic display. I love to use lots of found objects from around the house. Height is so important to any design to make sure you have eye movement, energy & fun.


Step 5: Collect your favorite fall decor pieces that you are going to put in the display. MIX AND MATCH. Multiple textures and finishes of elements add dimension and depth. Remember a good rule of thumb is that you start by adding things in odd numbers, 1, 3, 5 it breaks it up from being to symmetrical.


Step 6: BRING THE OUTSIDE IN. Collect things that are organic like leaves, twigs, straw, hay, corn sacks/burlap, etc. Texture can add a lot to the piece and also hide some of your flaws.


Step 7: ADD A LITTLE TOUCH OF WHIMSY. I always like hiding one little thing that not everyone sees but when they do see it they smile. In this example we added the one black bird. It has become a real game for me.
Step 8: Now start by filling in all the main pieces you have. Lay them roughly out on the table. If you want the piece to be viewed from all sides start in the center and work out. If you can only view it from one view point start in the back and work forward. Once you have the pieces in the place you think you like them add some height and then add in the texture and covering.

Step 9: Remember... STEP BACK AND LOOK AT IT as you build in the height. Walk away periodically and then tweak, add, delete etc. Which leads me to last step...
Step 10: EDIT! Once I think I am done I always remove 2-3 elements because I always feel like I have over done it!
A great decorated fall table can take you from mid-august all the way through Thanksgiving! HAVE FUN!
Here are two more examples that follow the same principle! Hope these inspire you!