


Stay in Touch
Get sneak previews of special offers & upcoming events delivered to your inbox.
Sign in
Happy May, everyone!
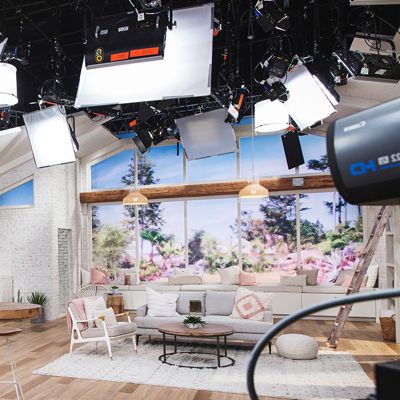
I’m so excited that spring is finally here. We will hopefully be saying goodbye to April showers and “hello, I’m so happy to see you!” to those beautiful May flowers. I’m looking forward to spending time outside and to being in my garden. Speaking of gardening, did you see last week’s season premiere of You’re Home with Jill? I showed you how to create a DIY Herb Garden using Mason jars—a perfect way to garden even if you don’t have a large outdoor space. If you missed last weeks episode, you can always catch up and watch it here.
You all know that I love any excuse to repurpose a mason jar, and today I have another great example of how to use them. One of the reasons I use them so often is because they are simple, small, and inexpensive additions for any room that add so much. I’m making my DIY Mason Jason Jar Sewing Kits next week on the show, and even if sewing isn’t your thing, we all have at least one or two of those mini sewing kits stuffed in our junk drawers. Inevitably, when we actually need it to reattach a button or fix a small tear in our favorite pants, we can’t find it! Or if we do find it, we’re missing the needle or the right color thread. I know I can’t be the only one with this problem, so I’m sharing with you an adorable way to keep all those little pieces together. These are not only functional, but they allow you to add a small pop of color or pattern to any room with the piece of fabric you choose. These would make such a great small gift for mom, your best friend, or anyone who needs a little organization in their life!
Here’s what you’ll need:
One mason jar
Two small scraps of pretty fabric
Scissors
A few cotton balls
hot glue/glue gun
pen or pencil
Start by placing the flat part of your mason jar lid on top of the plain side of the fabric, then trace a circle around it.

Using your scissors, cut out a circle of fabric, leaving about an inch between the circle and the cutting edge.

Place a few cotton balls between the lid and the piece of fabric. Wrap the fabric over the back of the top and secure it with a few crop of hot glue.

Glue the other piece of fabric over the back of the lid, so that it’s entirely covered with fabric on both sides.

Push the puffed-out flat lid securely inside the lip of the lid. Fill the jar with your sewing supplies, then close the lid and fill the pouf with your straight pins.


I also added some twine and a cute little button to mine—feel free to use ribbon or yarn for yours!

Aren’t those cute? Mason jars are so versatile, and their rustic design works well with so many different styles. What other ideas do you have for those handy jars?
Don’t forget to tune into to QVC Plus for our second great episode of YHJ next Wednesday at 7pm ET—check your channel line-up to see if you get the channel. Not to worry if you don’t—watch it online! Go to QVC.com, Watch Live TV, then click on the QVC Plus tab.
From my home to yours,
—Jill
You must be a registered user to add a comment. If you've already registered, sign in. Otherwise, register and sign in.


Get sneak previews of special offers & upcoming events delivered to your inbox.
*You're signing up to receive QVC promotional email.
Find recent orders, do a return or exchange, create a Wish List & more.


Privacy StatementGeneral Terms of Use
QVC is not responsible for the availability, content, security, policies, or practices of the above referenced third-party linked sites nor liable for statements, claims, opinions, or representations contained therein. QVC's Privacy Statement does not apply to these third-party web sites.
© 1995-2024 QVC, Inc. All rights reserved. | QVC, Q and the Q logo are registered service marks of ER Marks, Inc. 888-345-5788